Hot news
INSTRUCTIONS ON INSTALLING CEILING FANS FOR PLASTER CEILINGS
Installing ceiling fans for plaster ceilings not only helps cool the space but also significantly enhances the overall aesthetics of the house. This is particularly true with the use of beautiful, modern ceiling fan models that are designed to complement a wide variety of spaces, from private homes to contemporary apartments. In this article, GCool will guide you through a comprehensive, step-by-step process on how to properly install ceiling fans on plaster ceilings, ensuring both safety and efficiency. By following this detailed guide, you can confidently improve your living environment, creating a more comfortable and visually appealing space while ensuring proper air circulation and energy efficiency in your home.
1. Preparing Tools
- GCool ceiling fan
- Measuring tape
- Drill
- Round plaster cutter / Plaster cutting disc / Paper cutter knife
- Ceiling hook with base
- Iron expansion screw set

2. Installing Ceiling Fans For Plaster Ceilings
STEP 1
Measure the fan installation location (preferably the center of the room).

STEP 2
Use a round plaster cutter, a plaster cutting disc, or a paper cutter knife.
Cut a hole smaller than the size of the fan funnel on the plaster ceiling. The cut hole (round or square) has a diameter larger than the edge of the hook by about 0.5cm.

STEP 3
Measure the distance from the plaster ceiling to the concrete ceiling.
Note: Check in advance and avoid the locations of hidden electrical wires and plaster frames.

STEP 4
Choose a ceiling hook with a base. Use a hook with a suitable length, preferably equal to the measured distance.
Note: U-shaped hooks are not suitable for GCool ceiling fans.

STEP 5
Put the hook through the cut hole on the plaster ceiling, place it on the ceiling to mark the position to drill.

STEP 6
Drill the concrete ceiling in the marked position.

STEP 7
Screw an iron expansion screw into the drilled position.

STEP 8
Switch the drill from Drilling mode to Hammer mode, firmly secure the screw into the concrete ceiling.

STEP 9
Switch the drill from Hammer mode to Drilling mode, tighten the screw to make it more secure.

STEP 10
Switch the drill to Driver/Screw mode to drill the ceiling for the 3 remaining screw positions. Repeat the above steps for these positions.

STEP 11
Assemble the ceiling fan according to GCool’s instructions (Youtube @GCool_Vietnam)
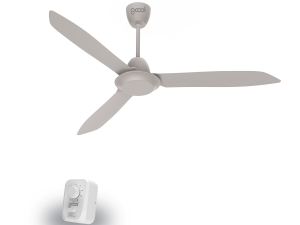
Video: Instructions on installing a 3-blade ceiling fan (Copter 03):
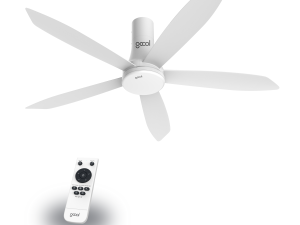
Video: Instructions on installing a 5-blade ceiling fan (Copter 05, Copter 05 Plus):
STEP 12
Hang the ceiling fan on the hook and securely roll the safety cable into the hook.

You can also watch the detailed video tutorial on how to install ceiling fans for plaster ceilings published on GCool’s Youtube channel (@GCool_Vietnam):
Although installing a ceiling fan for plaster ceilings can be a bit more complicated compared to installing one on regular ceilings, with the detailed instructions provided above, you should feel fully equipped to handle the task on your own or supervise the installation process with confidence. By following each step carefully, you can ensure that the fan is installed securely and functions as intended.
However, if you run into any difficulties or feel uncertain at any stage of the installation, don’t hesitate to seek assistance from GCool’s highly specialized and experienced technical team. They are always ready to provide support, ensuring that your ceiling fan is installed with precision, operates efficiently, and remains stable and durable over time.
We hope that with the help of this article, you will find it easier to enhance your living space, making it not only more comfortable and inviting, but also more luxurious and modern. Whether you’re upgrading an existing room or designing a new space, the addition of a well-installed ceiling fan can significantly elevate the ambiance and functionality of your home.
Join hands with GCool to create a green life today!


 Tiếng Việt